
- How to Install Convert Pro Addons?
- Understanding the General Settings of Convert Pro
- Understanding the Email Notification Settings in Convert Pro
- How to Create a Modal Popup in Convert Pro?
- Configuration Settings for a Modal Popup in Convert Pro
- How to Display a Call-to-action on a Specific Page, Post, Category etc (Page Level Targeting)?
- How to Target Users based on the Device they use?
- Schedule Your Call-to-action in Convert Pro
- What is a Call-to-Action in Convert Pro? How can I create one?
- What are the minimum requirements to use Convert Pro?
- How to Create a Slide-in Popup in Convert Pro?
- How to Create a Before/After Post Inline Call-to-action in Convert Pro?
- How to Create an In-Content Call-to-action in Convert Pro?
- How to Create a Call-to-action as a Widget Box using Convert Pro?
- Advanced Settings in Convert Pro
- How to Create a Multi-step Call-to-action in Convert Pro?
- How to Fetch the Latest Templates on my Website?
- How to Reposition a Slide-in in Convert Pro?
- How to Reposition an Infobar in Convert Pro?
- How to Create a Full screen popup in Convert Pro?
- How to Translate Convert Pro Plugin in Your Own Language using GlotPress?
- How to auto close call-to-action in Convert Pro
- Convert Pro Supports GDPR Regulations
- How to Display a YouTube Video in a Convert Pro Call-to-Action?
- How to create Multilingual call-to-action with WPML
- Disable cookies using Cookiebot plugin with Convert Pro for GDPR regulations
- Introducing the Honeypot field in Convert Pro
- How to Disable Call-to-actions for Subscribers?
- How to Create a Full screen popup in Convert Pro?
- How to deliver a lead magnet through your confirmation page or thank you page? – Using Double Opt-in
- Shortcut Keys For Customizer Operations
- Google Analytics Integration with Convert Pro
- How to Setup Convert Pro Events in Google Tag Manager
- Understanding the Email Notification Settings in Convert Pro
- How to A/B Test Two or More Call-to-Actions in Convert Pro?
- How to Add Custom CSS/HTML code/shortcode to a Call-to-action in Convert Pro?
- How to Create a Language Specific Popup in Convert Pro?
- Introduction to Rules sets in Launch settings of Convert Pro
- How to Integrate an Elementor Form in a Convert Pro call-to-action?
- How to Disable Click Event for a text?
- What are the Field actions in Convert Pro?
- Designing a Call-to-action in Convert Pro
- Cookie Settings in Convert Pro
- How to Create an Infobar in Convert Pro?
- How to Create a Full Screen Popup or Call-to-action in Convert Pro?
- How to Edit a Call-to-action in Mobile View?
- How can I disable a Call-to-action on Mobile Devices?
- How to Rename a Call-to-action in Convert Pro?
- How to Display a Call-to-action when a Specific Product is Added to the Cart?
- Working with Referrer Detection in Convert Pro
- Show or Hide Call-to-action to Logged in and First time users
- How can I disable a Call-to-action on Mobile Devices?
- How to Disable Google Fonts in the Frontend?
- How to Target Users based on the Device they use?
- Filter to Add a New Custom Font
- Convert Pro Email Notification Filters
- Google Analytics Integration with Convert Pro
- How to Integrate Convert Pro with ActiveCampaign?
- How to Integrate Convert Pro with ConvertKit?
- How to Integrate Convert Pro with AWeber?
- How to Integrate Convert Pro with Benchmark Email?
- How to Integrate Convert Pro with Campaign Monitor?
- How to Integrate Convert Pro with Campayn?
- How to Integrate Convert Pro with CleverReach?
- How to Integrate Convert Pro with Constant Contact?
- How to Add a New Google Font?
- How to Add Custom Conditions to Display a Call-to-action?
- How to Change the Credit Link Text?
- How to Display a Call-to-action when a Specific Product is Added to the Cart?
- How to Trigger a Call-to-action only on Woo-commerce order received page?
- How to Use the Advanced Script Addon in Convert Pro?
- How to Clear Cache for Call-to-Actions in Convert Pro?
- How to Create a Language Specific Popup in Convert Pro?
- How to White Label Convert Pro?
- Authenticate your MailChimp Account
- Authenticate your Benchmark Email Account
- Authenticate your ActiveCampaign Account
- Authenticate your Campaign Monitor Account
- Authenticate Your CleverReach Account
- Authenticate Your ConvertKit Account
- Authenticate your GetResponse Account
- Authenticate Your MailerLite Account
- Drip API Token
- How to Trigger a Welcome Popup or Opt-in with Convert Pro?
- How to Trigger an After Scroll Call-to-Action with Convert Pro?
- How to Trigger a Popup when a User is About to Leave the Page (Exit Intent)?
- How to Trigger a Call-to-action only on Woo-commerce order received page?
- How to Trigger a Popup on User Inactivity (User Inactivity Trigger)?
- How to Trigger a Popup or Call-to-action on Click of an Element/Button?
- Trigger a Call-to-Action using a Link Code
- Trigger a Call-to-Action using a Unique CSS class or ID (Button and WordPress Menu Item)
- How to Trigger a Call-to-Action after a Blog Post?
How to Create a Slide-in Popup in Convert Pro?
A slide-in popup is a tiny call-to-action that slides-in and remains on the sides/corners of the screen. You can display a tiny form to capture leads, promote offers and coupons within a slide-in.
In this article we’ll see:
- Creating a Slide-in popup
- Designing the Slide-in Popup
- Configuration Settings
- Managing leads captured through it
Step 1: Creating a Slide-in
In order to create a Slide-in, let us move to Convert Pro -> Create New tab
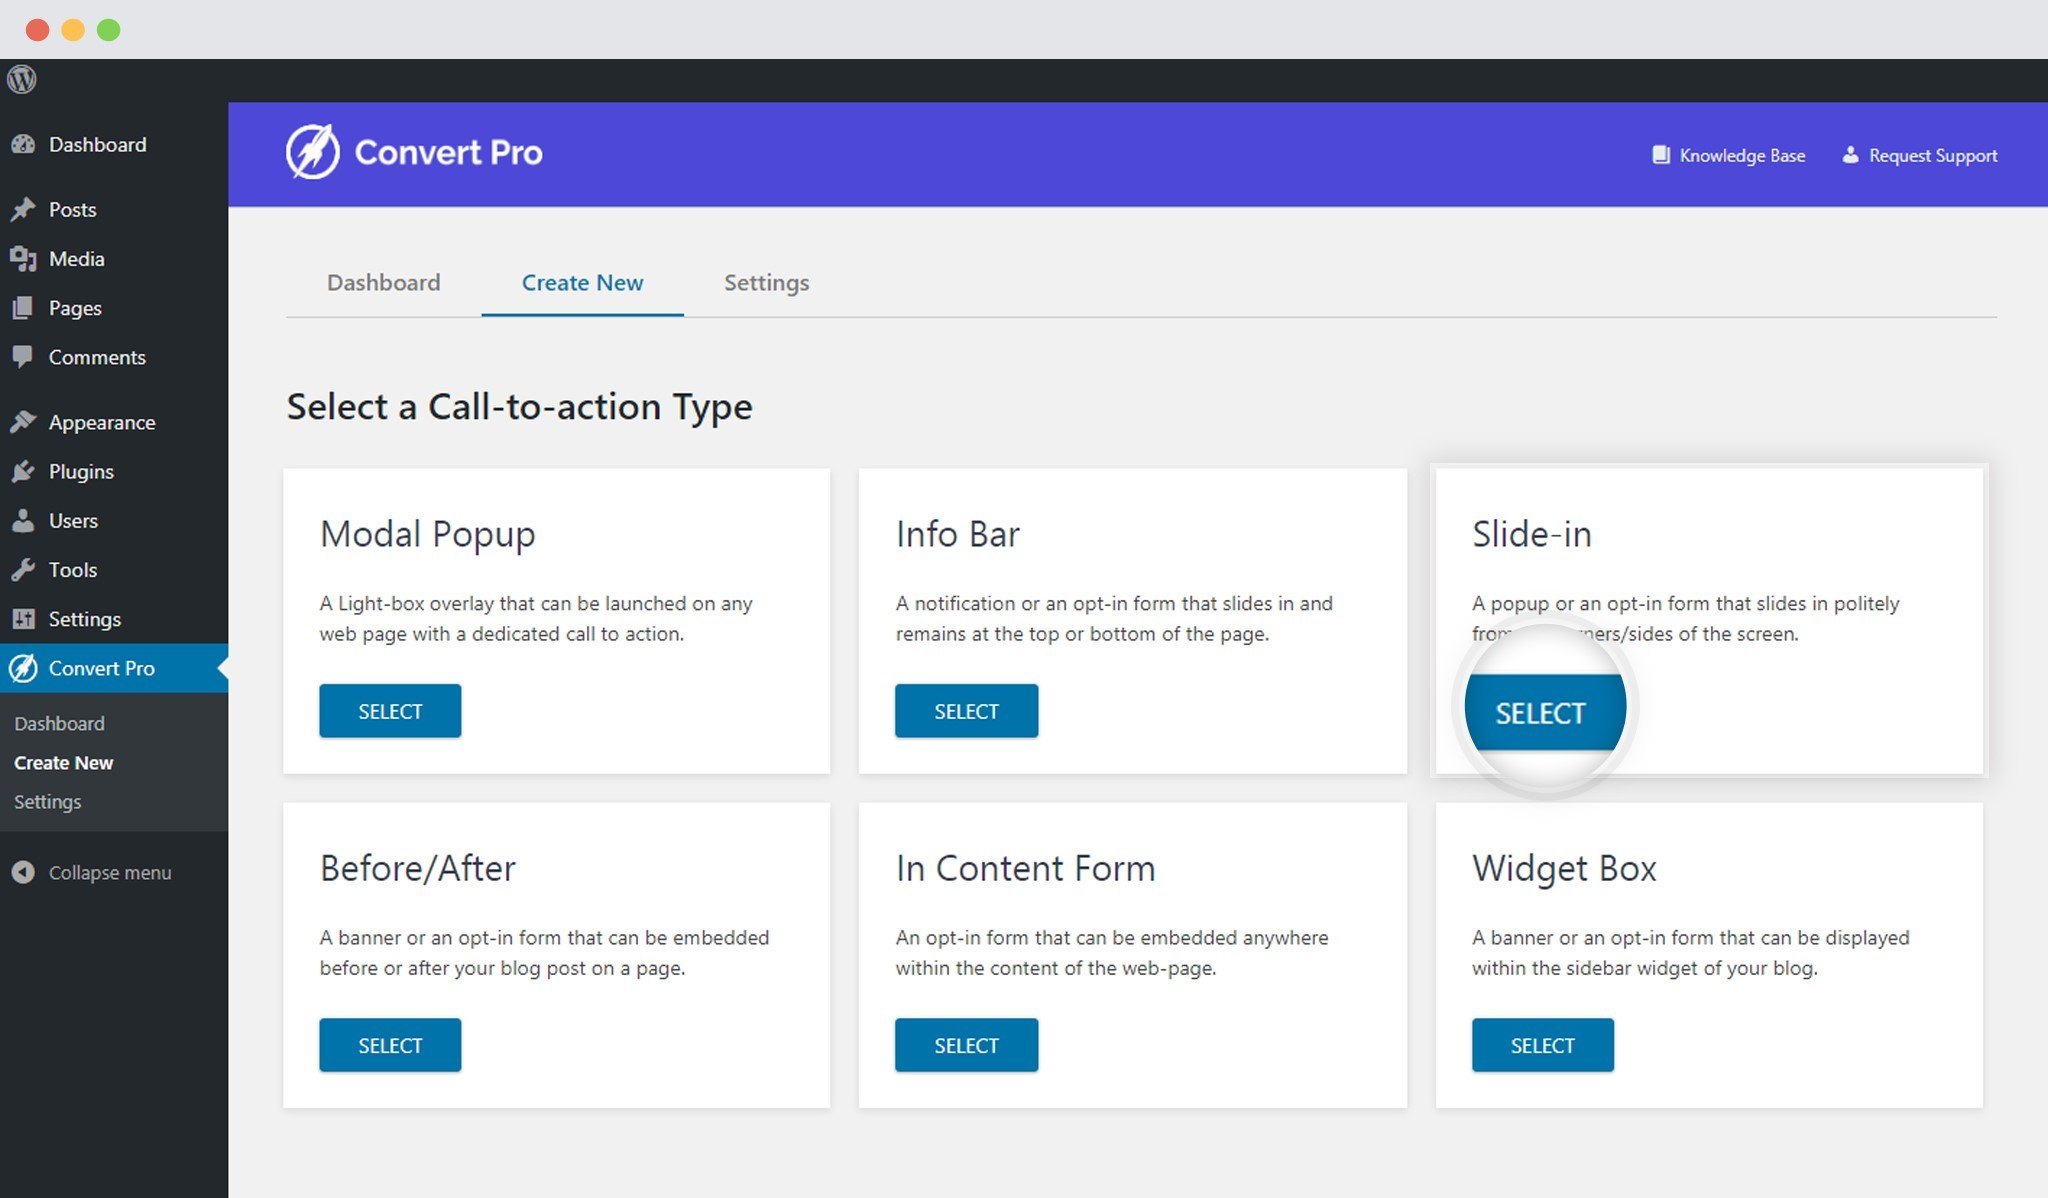
You can then select the template you wish to proceed with.
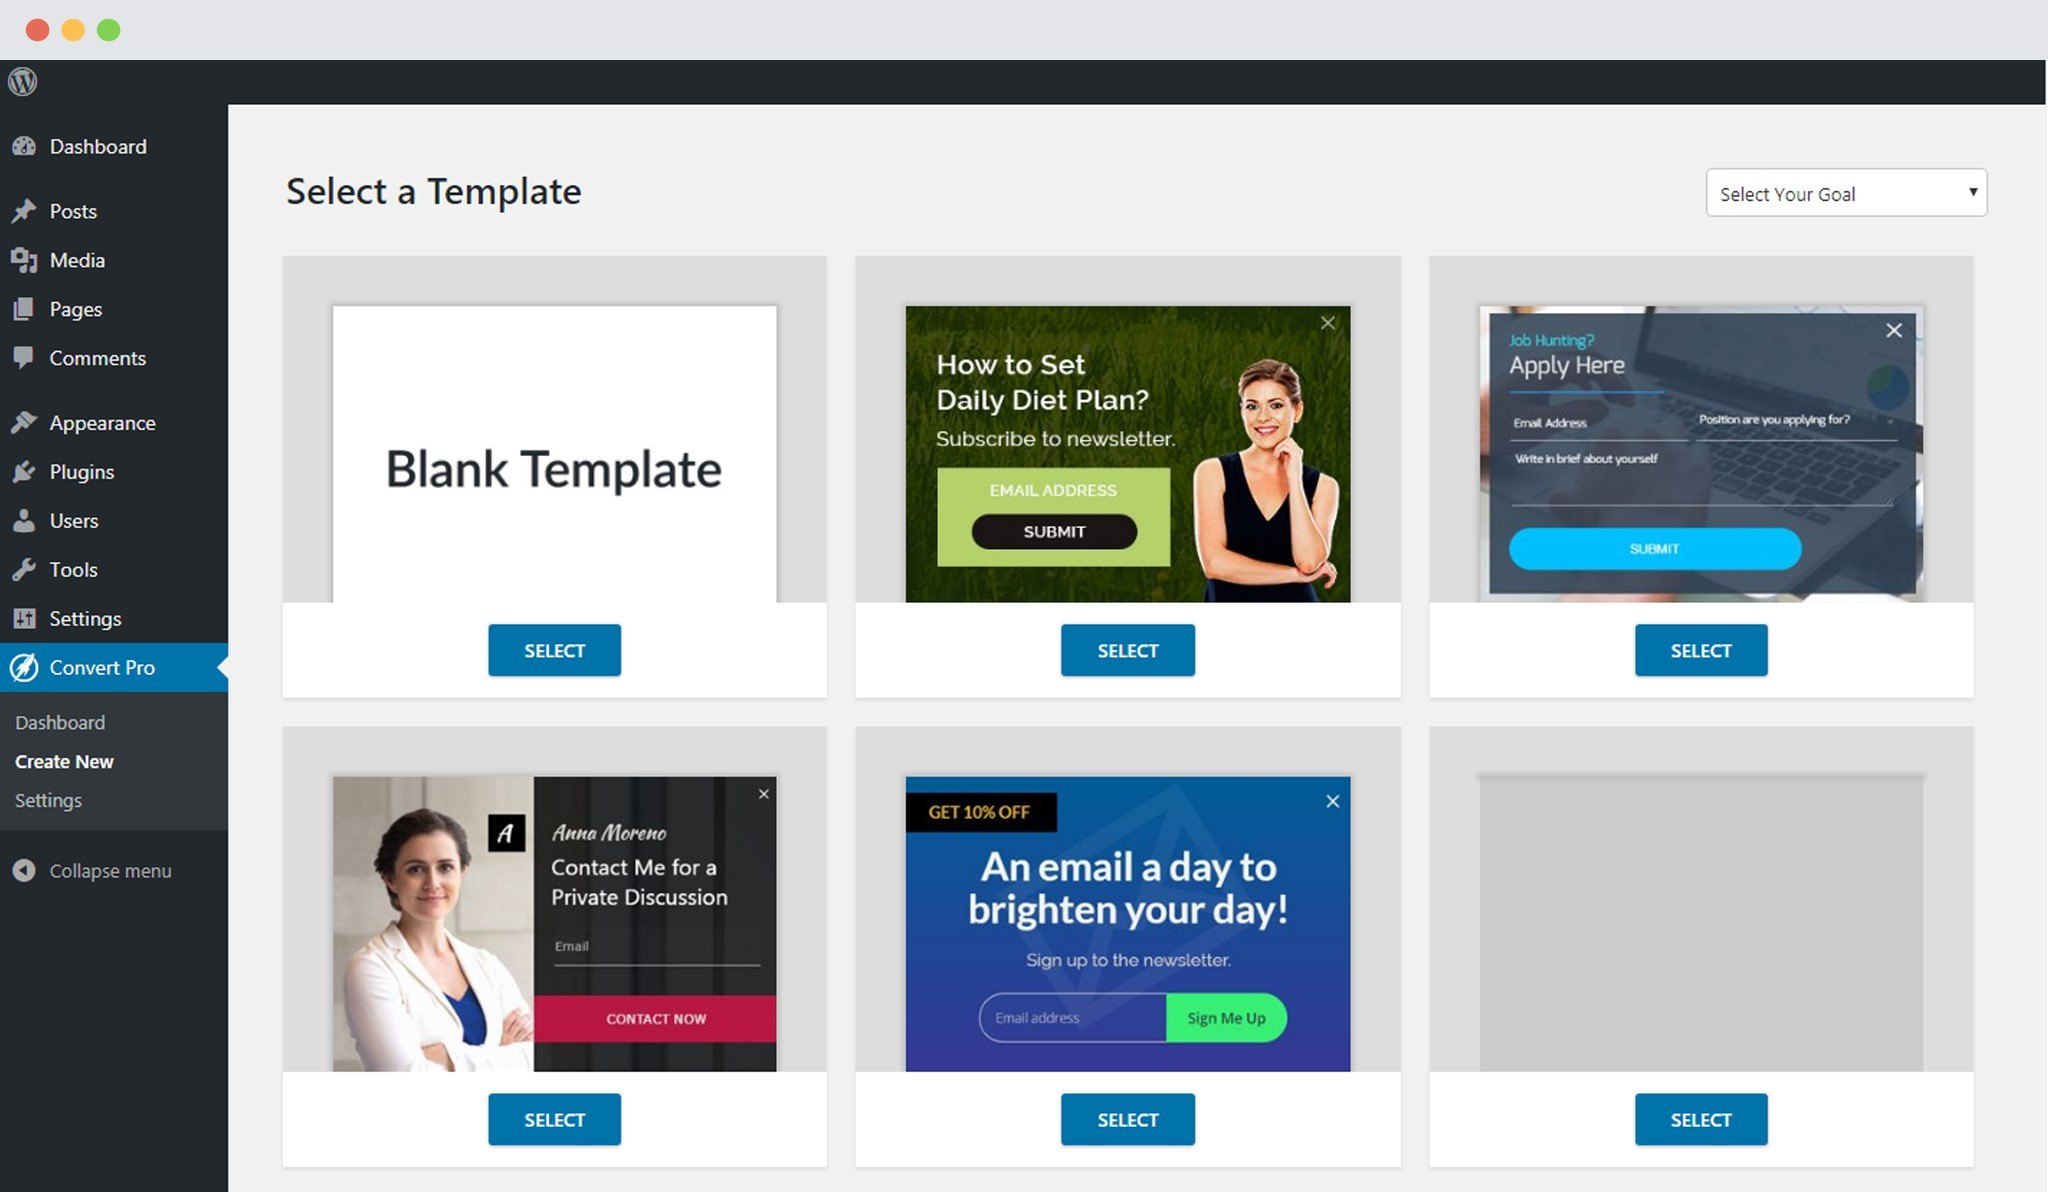
Once you have selected a template and named the slide-in, you will be taken to the editor, where you can design, configure and connect the form with a third party email marketing service provider.
Step 2: Designing the Slide-in
Convert Pro comes with a complete drag and drop editor that makes designing both fun and easy. You can create and design the slide-in with additional elements, form fields, shapes and a lot more.
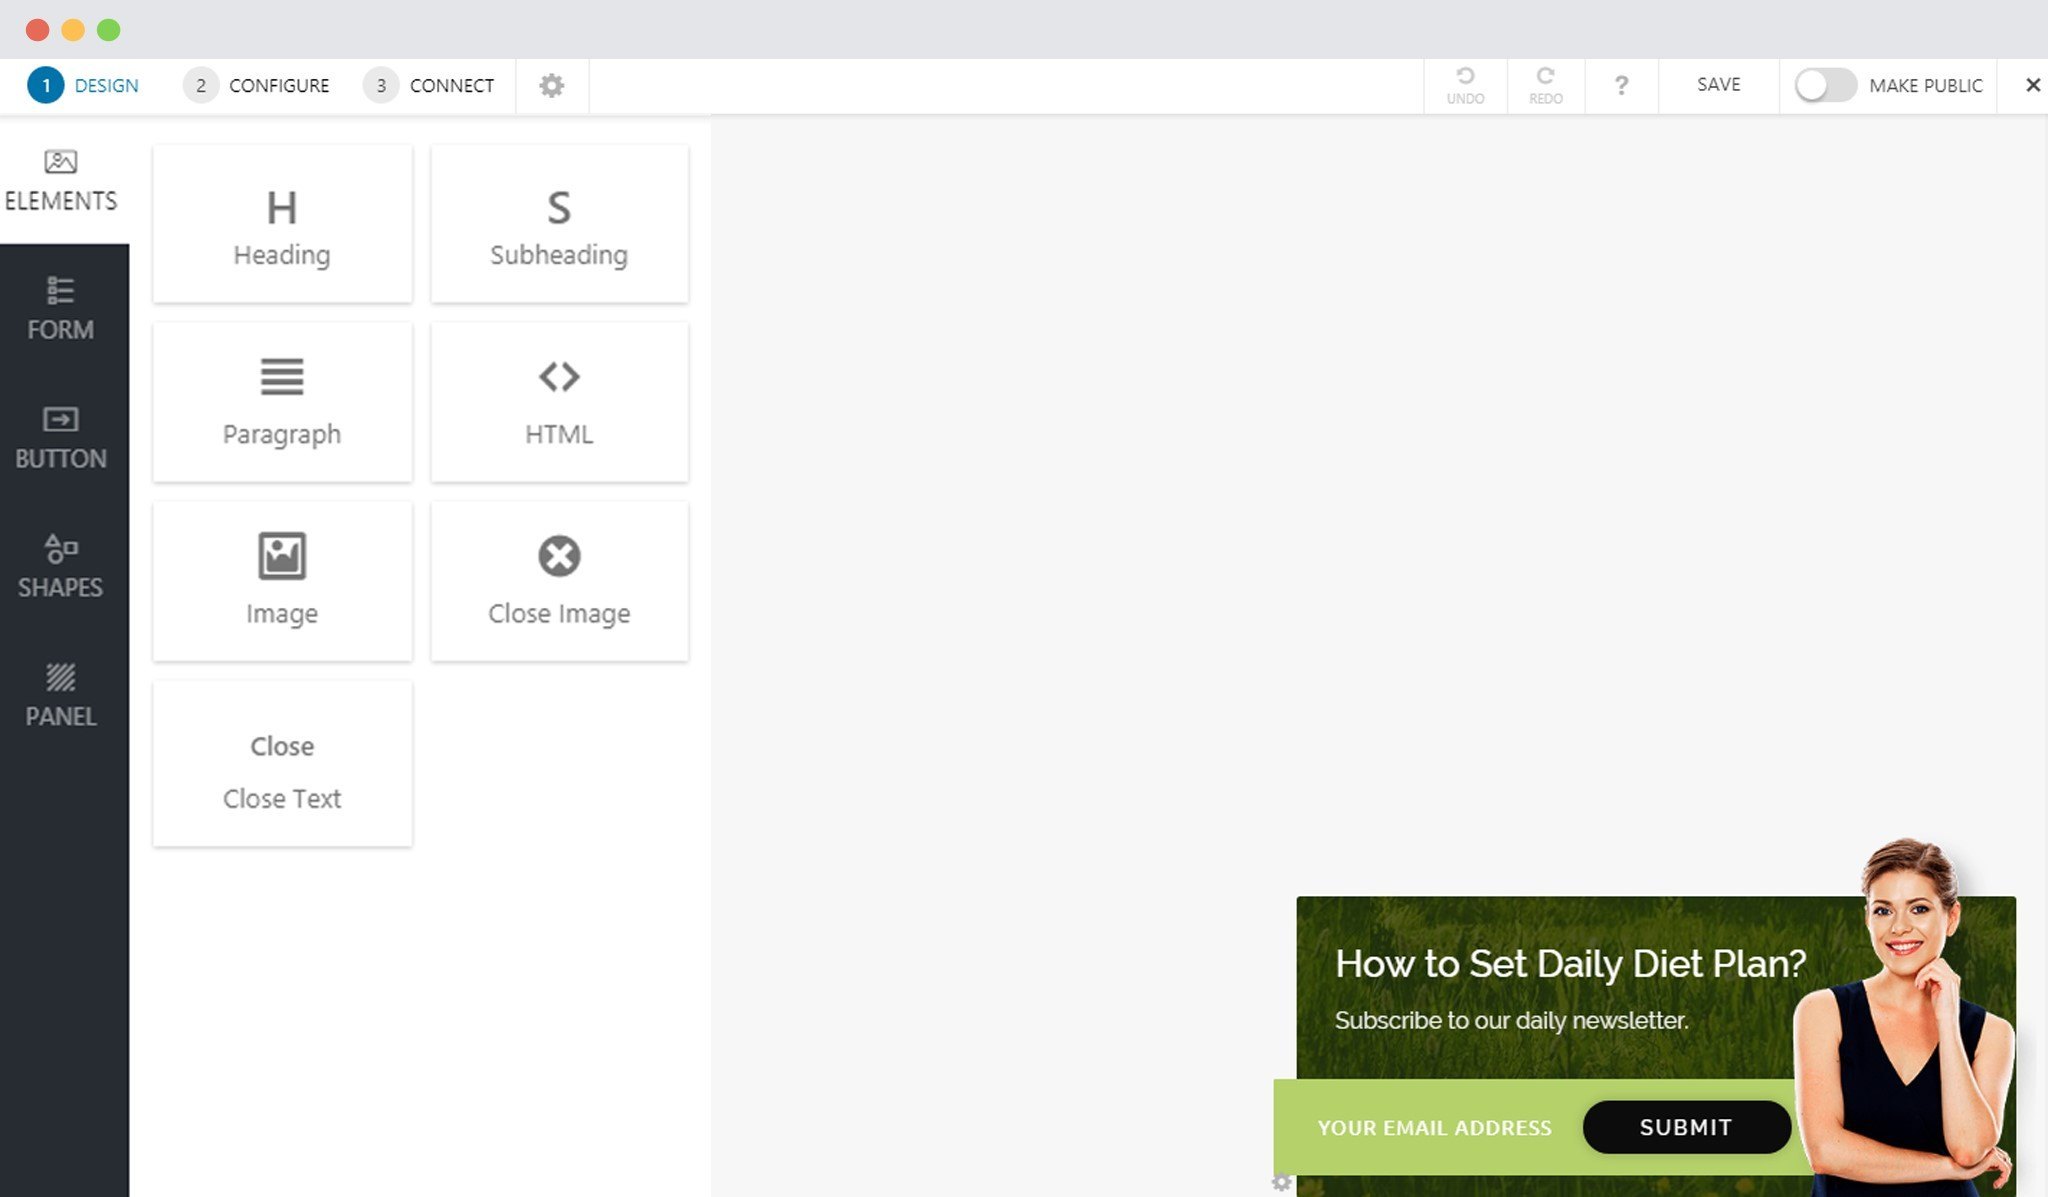
We have an article you can refer to know how you can proceed with Designing a call-to-action in Convert Pro.
Step 3: Configuration Settings
This step allows you to manage when, where and to whom should the slide-in be displayed.
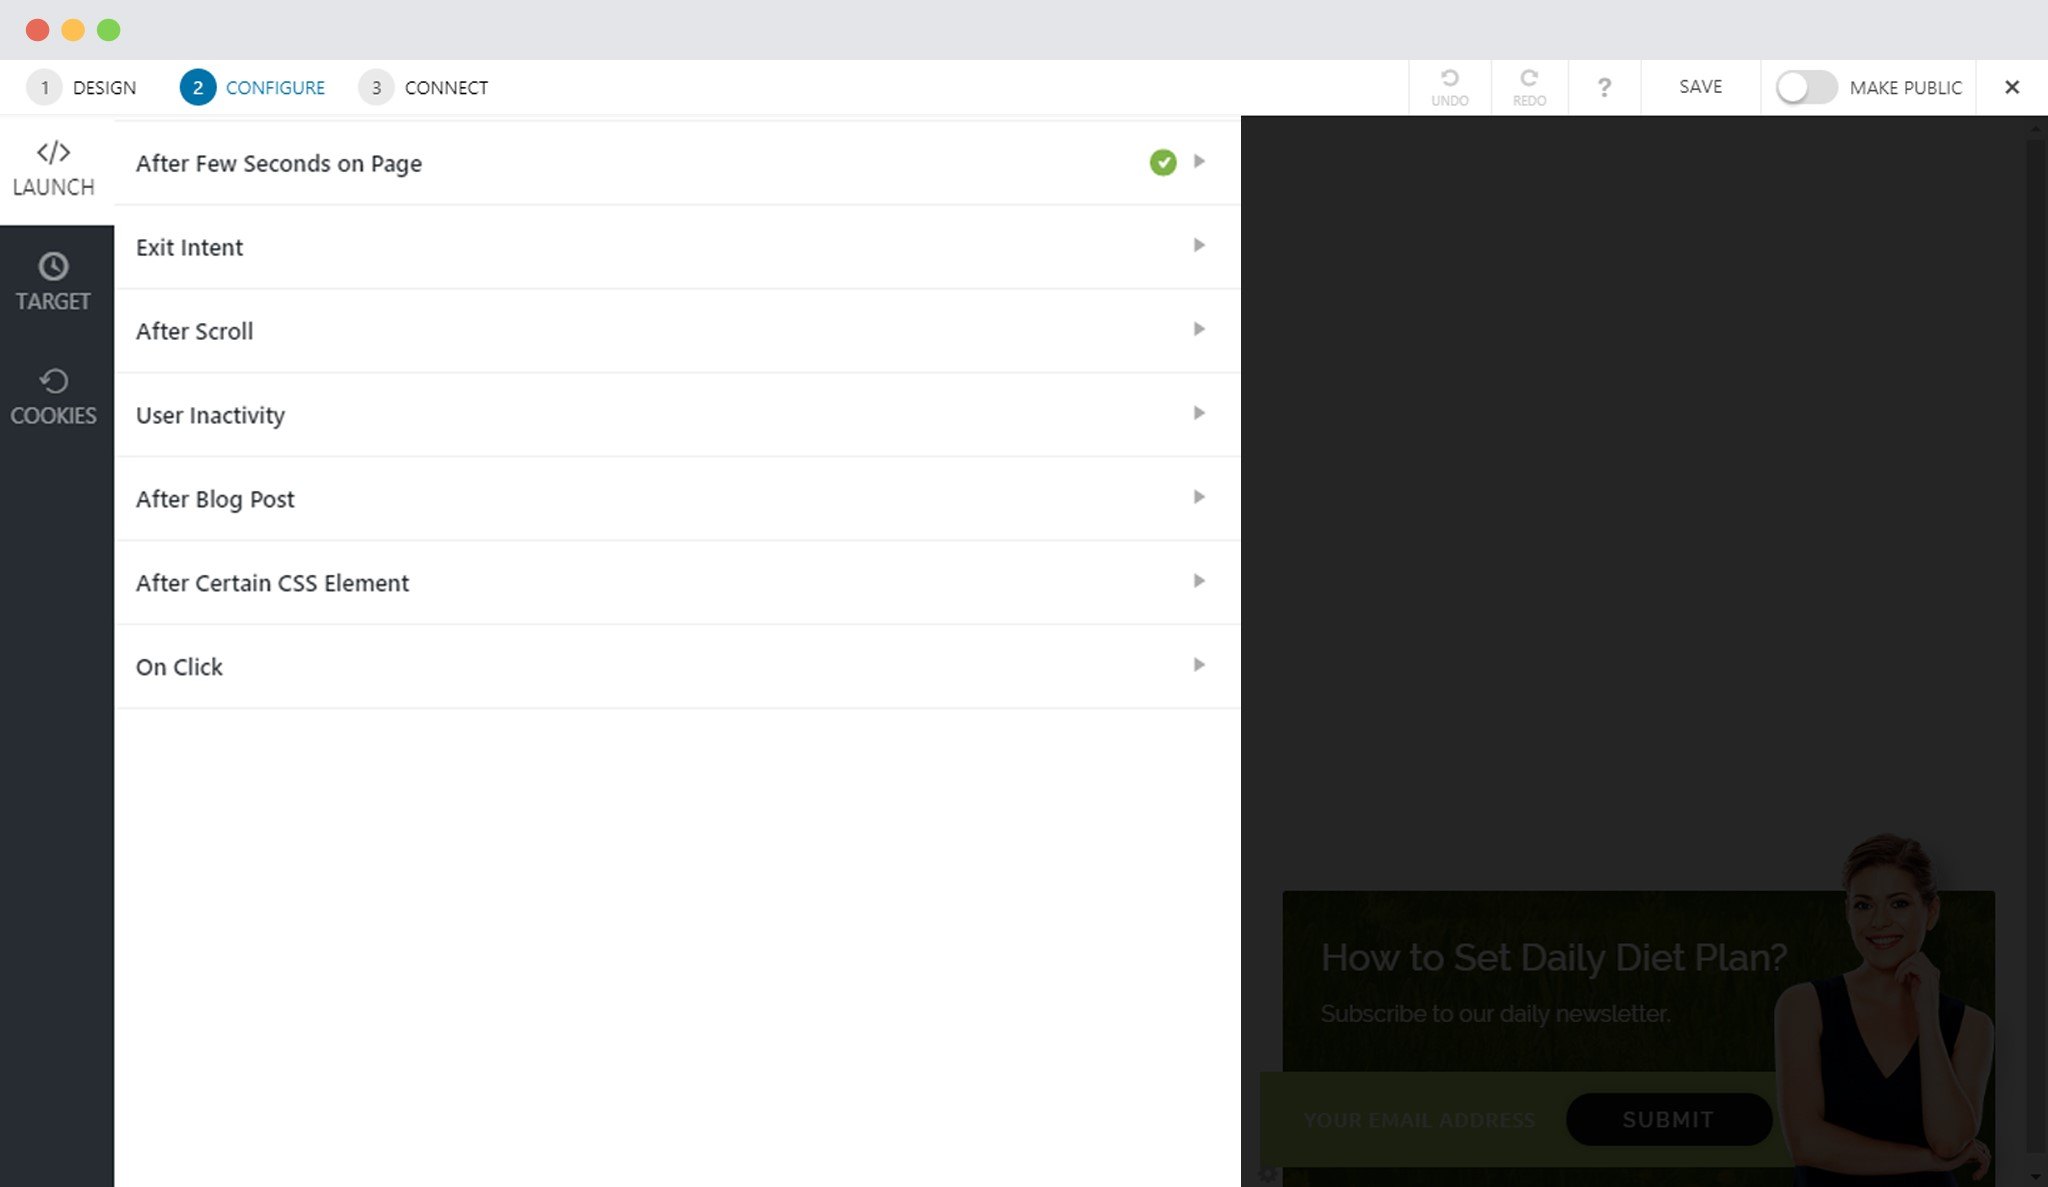
With triggers like the exit intent, well-timed, inactivity, after scroll and more you also have the option to display a call-to-action when a particular class or ID appears in the viewport or when a piece of text or element is clicked on the page. You can refer to the following articles that will help you trigger the infobar at the right time:
- Display a slide-in immediately after a user arrives on the page
- Display after few seconds when the page loads
- Display just when the user is about to leave the page
- Display when the user scrolls specified percentage of the page
- Display when user is found to be inactive for a specified amount of time
- Display after user reaches the end of a blog post
- Display when an element with specified class or ID appears in viewport
- Display the slide-in on click of text, button, image, etc.
The target settings allow you to specify particular page/pages/posts/categories etc where you wish to show or hide the slide-in popup. You can also choose to identify users by the device they are using or the website they come from.
- Display the slide-in on particular pages/posts/categories etc
- Target visitors based on the URL they come from
- Target visitors based on the device they are using
- Show or hide slide-in from logged-in and first time users
- Schedule the slide-in popup
Note: These targeting options cannot be used when you select the onclick method to display the slide-in.
The Cookie settings allow you to decide whether you wish to display the slide-in after conversion or after closing.
Note: These cookie settings cannot be used when you select the onclick method to display the slide-in.
Step 4: Managing Leads
Convert Pro integrates with 26+ email marketing service providers and autoresponders to help you store and manage leads. You can also enable email notification to receive lead data on a specific email ID.
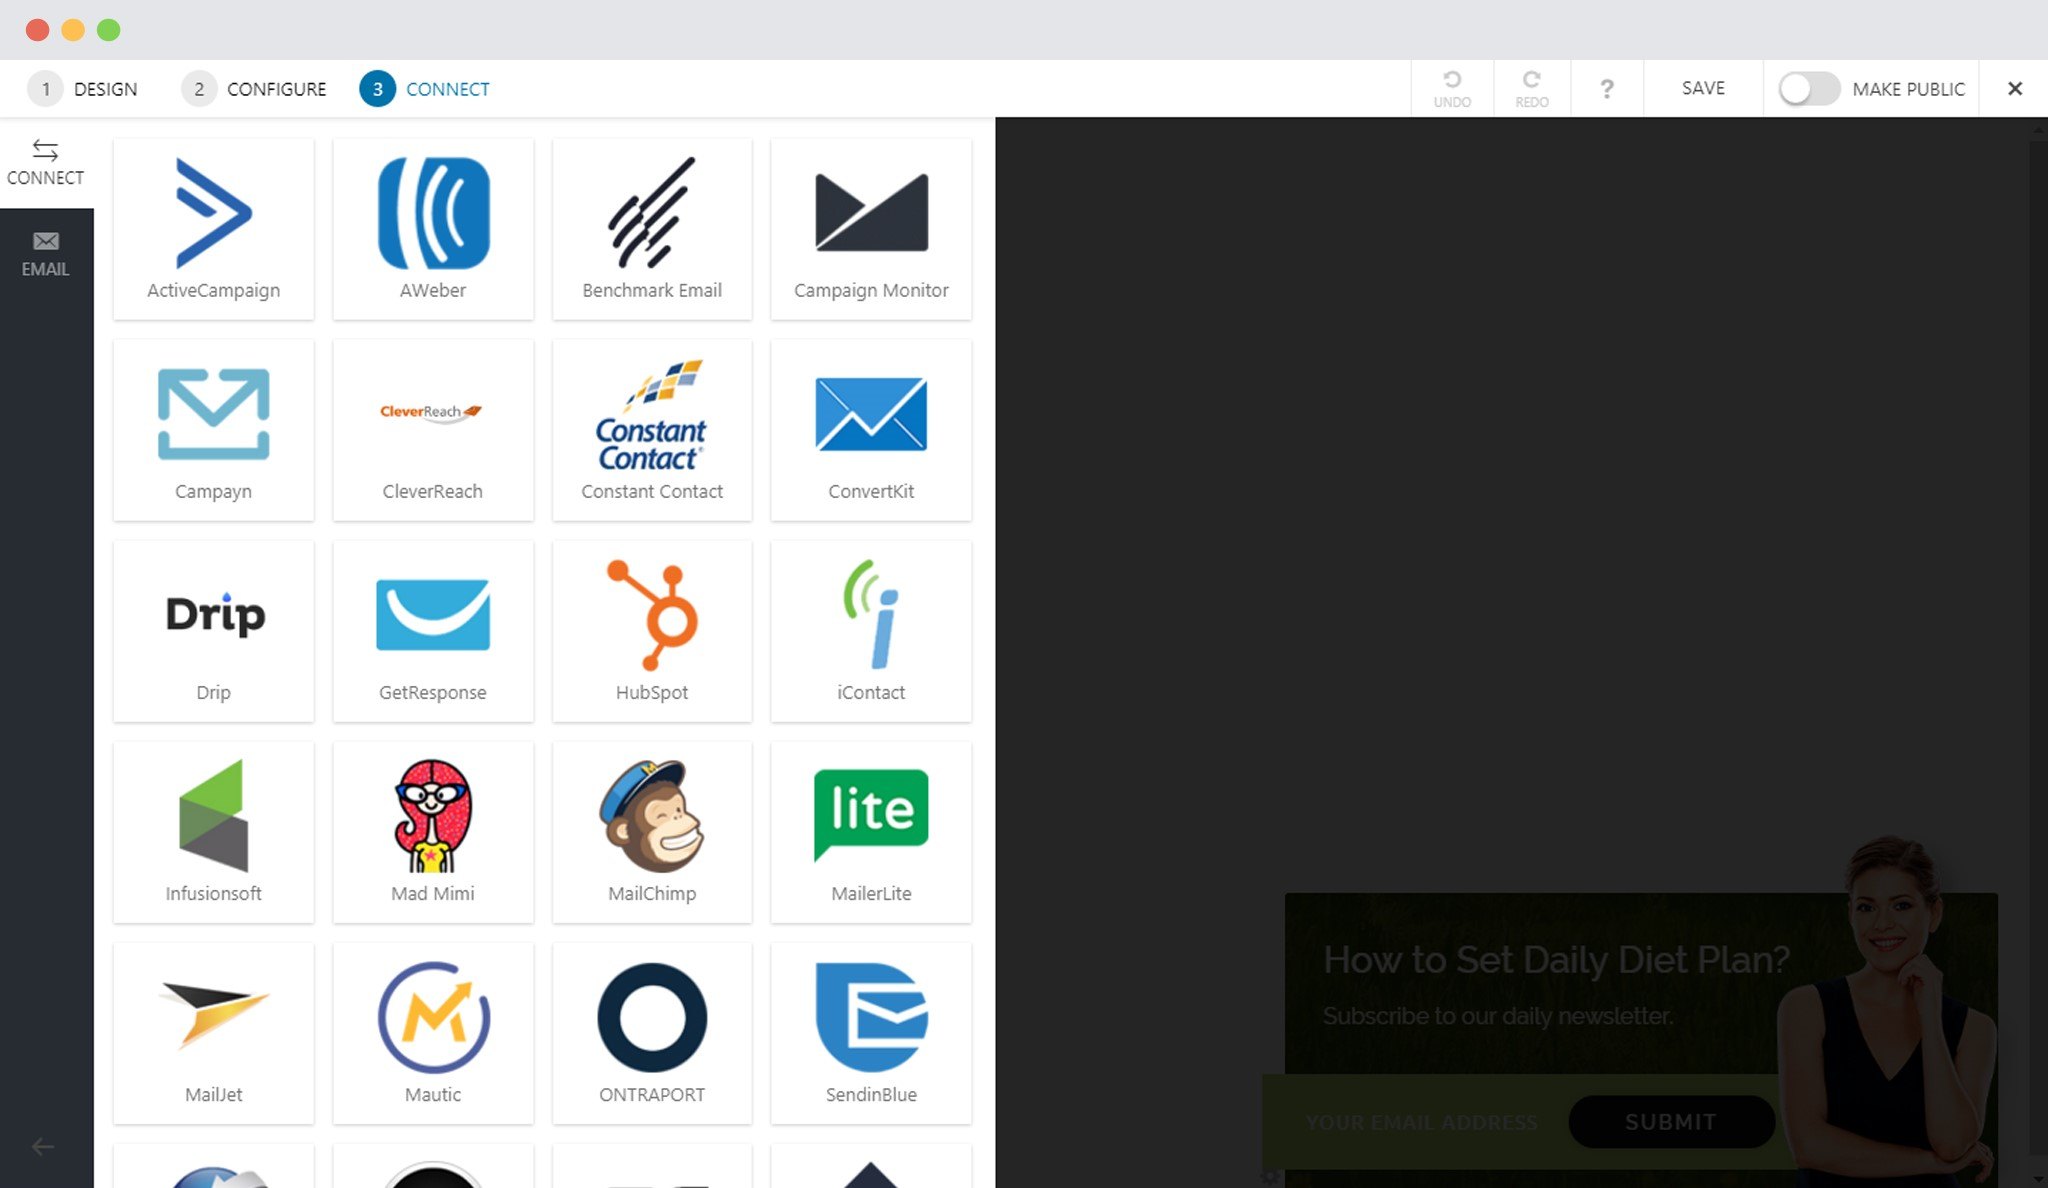
You can refer to the following links to integrate with a third party email marketing service provider and enable email notifications.
You are all set to publish the slide-in and convert your website visitors into prospective leads and customers!
Need help? Get in touch!
We don't respond to the article feedback, we use it to improve our support content.

